It has been awhile since I had an opportunity to post here in the last few months, due to the busy end of school year days, summer time oh and a flood that put my Scrapbook/Craft room in disarray
this is how it still looks after flooding in mid April (sad face)
I dug into the stash of maps and decided to work on a project I have been to try for quite some time. After digging through some bins of all my stored craft items I found the old coasters, and got to work.
What you NEED:
coasters: I used two kind ceramic with a cork bottom and cork with a paper overlay
scissors
modge podge or really good crafters glue
old paintbrush
some type of wipe (baby, cleaning, damp rag) to help keep your fingers clean and not sticky to everything
old WDW maps (you are willing to cut up)
piece of cardstock
glitter, decorative tape (if desired)
Time it took me: about 10 minutes per coaster (especially the cork style)
step 1) I cut a large enough piece of a map that I could fold around the coaster
2) I used this very STICKY thick glue and smeared a good layer on the top of the coaster
3) I placed the coaster onto the paper pressed firmly to remove bubbles and then applied a layer of glue to the back
4) after cutting diagonal slits in the corners of the map I began to fold in the edges
here you can see a complete corner (on my 2nd coaster I figured out a better way to fold in the corners so it was a tighter cleaner edge, see below)
5) I cut and adhered a piece of card stock to the back to cover the remaining cork and make a neater backing
6) I used decorative tape and trimmed the edges of the cardstock on the back and then front
finished edge
here you can see how you want to fold in the corners of the tape first and then fold over the edge
Coaster 1: finished front and back
I now followed the same steps above to cover the other cork coaster I had. At step 4) I still cut diagonal slits in the corners of the map paper but folded the corners in better as I rounded the paper with a bit of tucking.
you can see here I created a nicer edge and corner
here is the finished coaster number 2, in which I only used the decorative tape on the back
Coaster style #2 ceramic with cork back
the steps are basically the same with a few exceptions
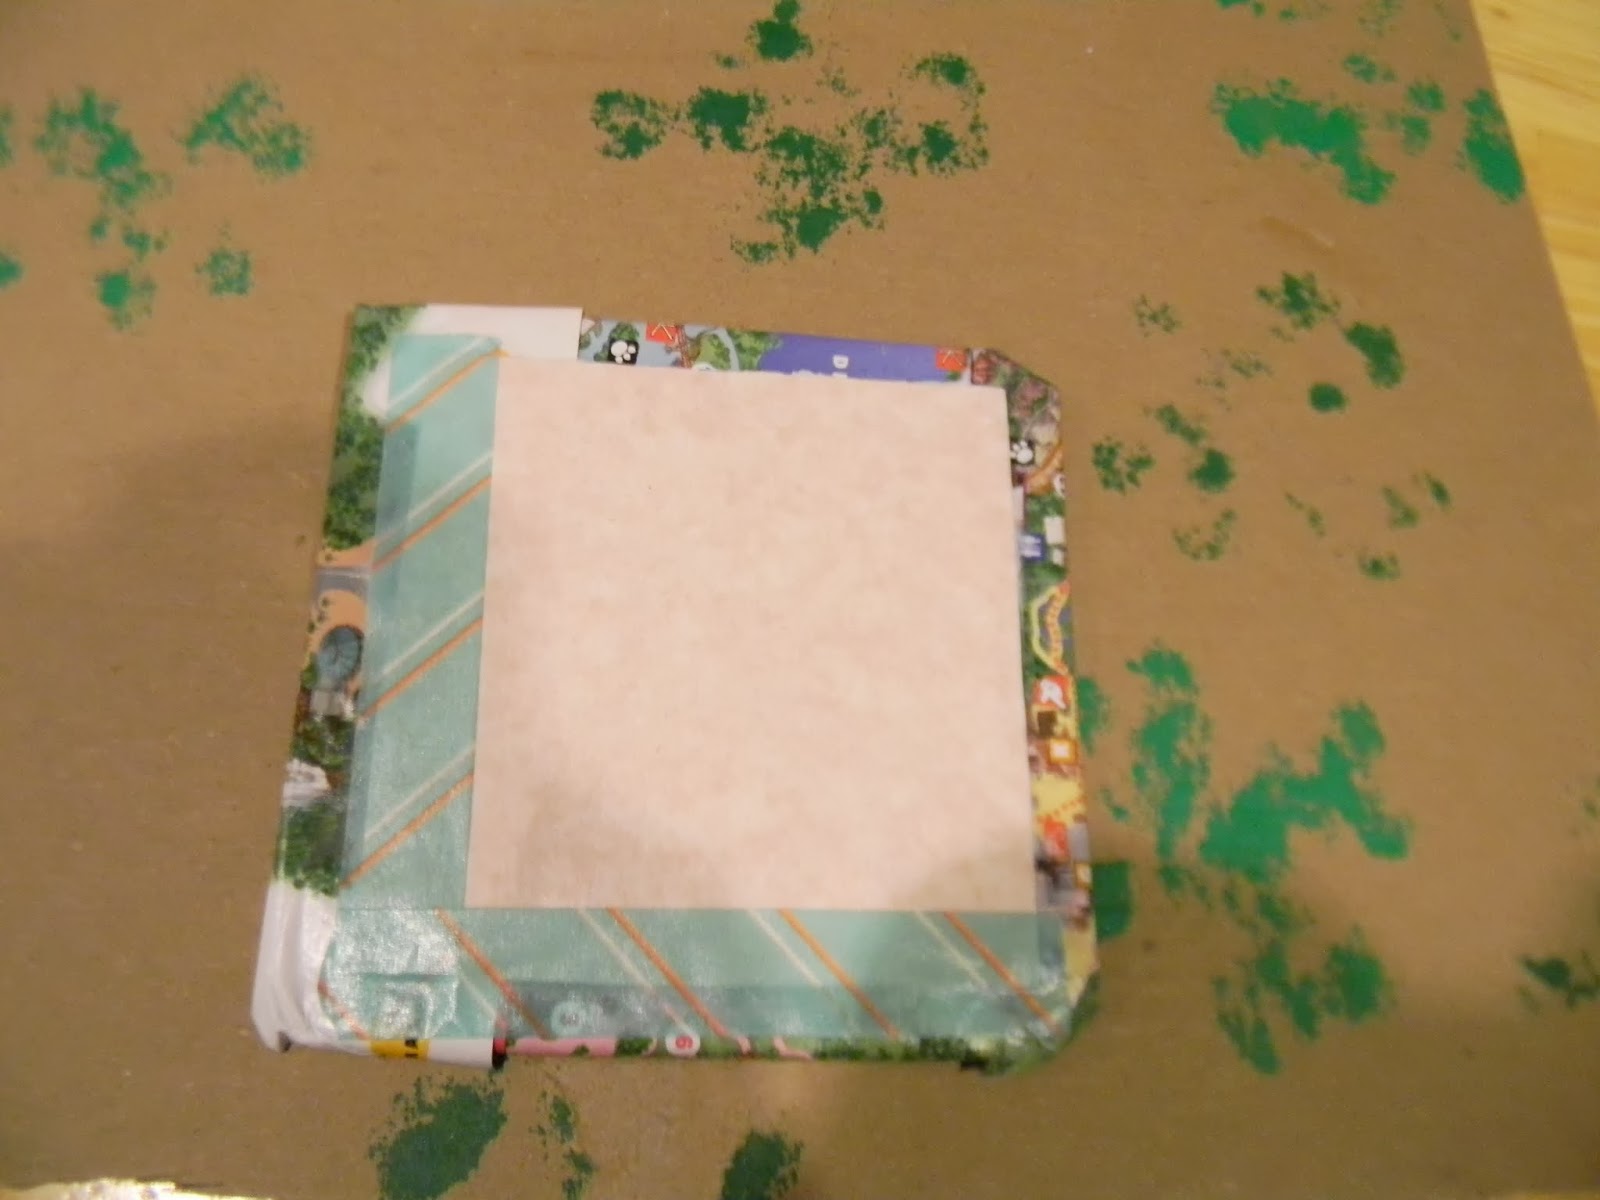
step 1) I trimmed a square of map paper to fit over the actual design on the coaster and still have the coater edging show
2) adhere a thin layer of glue to the area you want to put the map on
3) I decided to add glitter to this coaster, so I added another layer of glue and sprinkled on the glitter. The glue dries clear.
for one of the ceramic coasters I also added some decorative tape to make a different border as you can see in the picture below of all the coasters:
(ok right now I have a link to the picture...ugh technology)
FINAL STEP: is to finish sealing the coasters with a waterproof sealer, my husband is going to put a thin coat of polyurethane
So there you have it Disney Map Coasters! Up NEXT in the ever fun and full of potential Upcycle your old WDW Maps OR really any type of map or even your old Algebra tests you aced in High School is:
Yes it is what it looks like: MAP SHOES!
thanks for reading and happy crafting, Julie