Friday, August 23, 2013

Back to School!

Whether you have a pre schooler or High School student, attend Public, Private or Home school...the back to school season is upon us. My children headed back for their first days earlier this week:


I have two NEW Freshman in High School and a new 5th and 1st graders. I think (most of us) were ready to get back to school! With busy home and activity schedules, plus myself back to work in our home. I wanted to make sure we really were ready to get back into this season.

I began probably well over a month before school began and hit Target to start the back to school shopping, new pencils, glue sticks, markers, gym shoes, etc...As well I began some in home organizing and going through current supplies and items that are used for school and studying.

I began with organizing the shared computer/work space for the children.  We have one main computer, desk and a storage unit to keep items organized.


I went through the clutter and tossed broken pens, pencils, garbage, old papers, etc and made sure we began neat and tidy! I'm not in the idea it will stay this neat all year, but starting out well organized gives you a great head start!

I had fun making new labels for everything, which has always been a plan and let's face it how many times can you answer:

"Mom, where is notebook paper?" or "Mom I need another pen..."


The cube unit above contains most of the usual needs: loose leaf paper, notebooks, file holders to store papers, resource materials, etc. As well I have a cloth bin full of markers, crayons, and colored pencils, plus a bin full of quiet/busy activities for my youngest who doesn't have as much homework as the older children. This helps her stay busy and feel important too.


In our stairwell I having hanging cloth baskets that store various extra items the children may need as replacement through the year.


We can't expect FOUR children to share a single workspace so at the beginning of the year we pre select homework stations for each child, one likes her room, another in the dining room, etc. I have little cups and bins (sorry no picture) that have basic supplies like pencils, erasers, crayons, in it for them to grab and take to their study space.

Once I get a feel for what work they will be having on a regular basis I write out "Are you Homework Ready?" chart/list. An example is

  1. Have sharpened pencil and eraser
  2. all papers out
  3. books and materials
  4. look over assignment notebook and individual assignments
  5. if listening to music, do you have your homework playlist ready?
  6. Do I understand my assignment?
  7. When is it due?
  8. when complete where does it go? in a specific folder or binder?
  9. if working on computer have I saved my Work?
  10. remember to ASK for Help and stay on TASK
 
 
A few other organizational items that can trip up your kids can be, well just getting moving...I have found visual reminders work for my kids.


I have created my own sheets and used various ones I have found online. Simple pictures and check off charts really can help and keeps you (Mom or Dad) from needing to keep rattling off the " get ready list"

Packing Lunches can be a dreadful and tedious task...but with some simple guides, it can be doable. I am of the mindset to let your kids do the packing but with example. I printed a neat Step by Step chart to help them out and put it on the fridge:


I also cleared an area and labeled it specifically for the lunch boxes/bags. The kids with help as needed prep their lunches the afternoon/night before.

The last minute shoes, coats, backpacks seems to take the longest.  I seem to hear almost every morning

" where's my backpack?"
 
"where are my shoes?"
 
To help un-complicate this task, I have designated a shoe spot for each of my four children and of course added a cute label:


Not pictured are the new designated bag hooks. During the school week they have hooks easily accessible outside the main hall closet, then they can store the school bags out of site as needed in the closet on the weekends or breaks. My son likes to keep his in the closet though at all times.

The hooks are under their school pictures in the main hallway! (I'm planning on making new crafty hooks which I will share another time)


The last fun label to share is my "Spoon full of Sugar..." medicine Reminder. The oldest children each take a few different daily med's that are kept in the kitchen and I just couldn't resist the Mary Poppins reference!

Happy organizing and crafting, thanks for reading, Julie


Thursday, August 15, 2013

Crafting with Kids: Homemade Birdfeeders

As our Summer vacation is winding down, yesterday I wanted to make sure we checked another item off the Summer Wish List!

**make birdhouses**

(we actually made birdfeeders instead)
 
it wasn't that hard and as long as you have some clean empty milk cartons or any type of container or box. you are set! Here is a pictorial how to:
 
 
Supplies needed: plastic drink jug or cardboard juice carton. marker/pen, cutting tool, glue, paintbrushes, tissue paper (yarn, "roofing material", and popsicle stick or thick plastic straw for bird perch-these items not pictured)


1) mark on carton with the pen openings on each side of your carton/jug, then cut out

 
2) cut up tissues into squares/rectangles and water down glue with some water


3) let kids have at it! Using glue and paintbrush to adhere the tissue onto carton/jug
 

4) After tissue paper has dried, punch a hole in top of carton and add a piece of twine (or yarn)


5) cut slits into the spout of carton


6) trim out with a cutting tool so the edge is flat


7) cut a small hole on each side to insert plastic straw or popsicle stick (I added hut glue to secure in place)

 
I added "roofing" by gluing on two paint chips

 
Fill with seeds


Hang to ENJOY!
 
thanks for reading and happy crafting, Julie
 
Pinterest inspiration: rhythmofthehome.com
 

Wednesday, July 31, 2013

Wordless Wednesday: Fingerpainting names

Happy Last Day of July of 2013....

Here's a sweet craft you can help your kids do, ENJOY!

Supply list:
paints
masking tape
poster board or heavy cardstock


Tape out the letters in your child's name or what ever word you wish to have


Then paint


Let dry for a few hours and then carefully peel off the tape


Hang up your masterpieces


thanks for reading and happy crafting, Julie
 
Pinispiration came from: attackofthetwins.blogspot.com

Monday, July 29, 2013

Walt Disney World Map Projects: Upcycled Coasters


It has been awhile since I had an opportunity to post here in the last few months, due to the busy end of school year days, summer time oh and a flood that put my Scrapbook/Craft room in disarray

this is how it still looks after flooding in mid April (sad face)


Nerveless, I have begun crafting again and am happy to share here as well. A few months back I shared a Walt Disney Map Project: special Disney craft: Mosaic Map Art
 
I dug into the stash of maps and decided to work on a project I have been to try for quite some time. After digging through some bins of all my stored craft items I found the old coasters, and got to work.
 

What you NEED:

 
coasters: I used two kind ceramic with a cork bottom and cork with a paper overlay
 
scissors
 
modge podge or really good crafters glue
 
old paintbrush
 
some type of wipe (baby, cleaning, damp rag) to help keep your fingers clean and not sticky to everything
 
old WDW maps (you are willing to cut up)
 
piece of cardstock
 
glitter, decorative tape (if desired)
 
Time it took me: about 10 minutes per coaster (especially the cork style)


step 1) I cut a large enough piece of a map that I could fold around the coaster

 
2) I used this very STICKY thick glue and smeared a good layer on the top of the coaster

 
3) I placed the coaster onto the paper pressed firmly to remove bubbles and then applied a layer of glue to the back

 
4) after cutting diagonal slits in the corners of the map I began to fold in the edges


here you can see a complete corner (on my 2nd coaster I figured out a better way to fold in the corners so it was a tighter cleaner edge, see below)

 
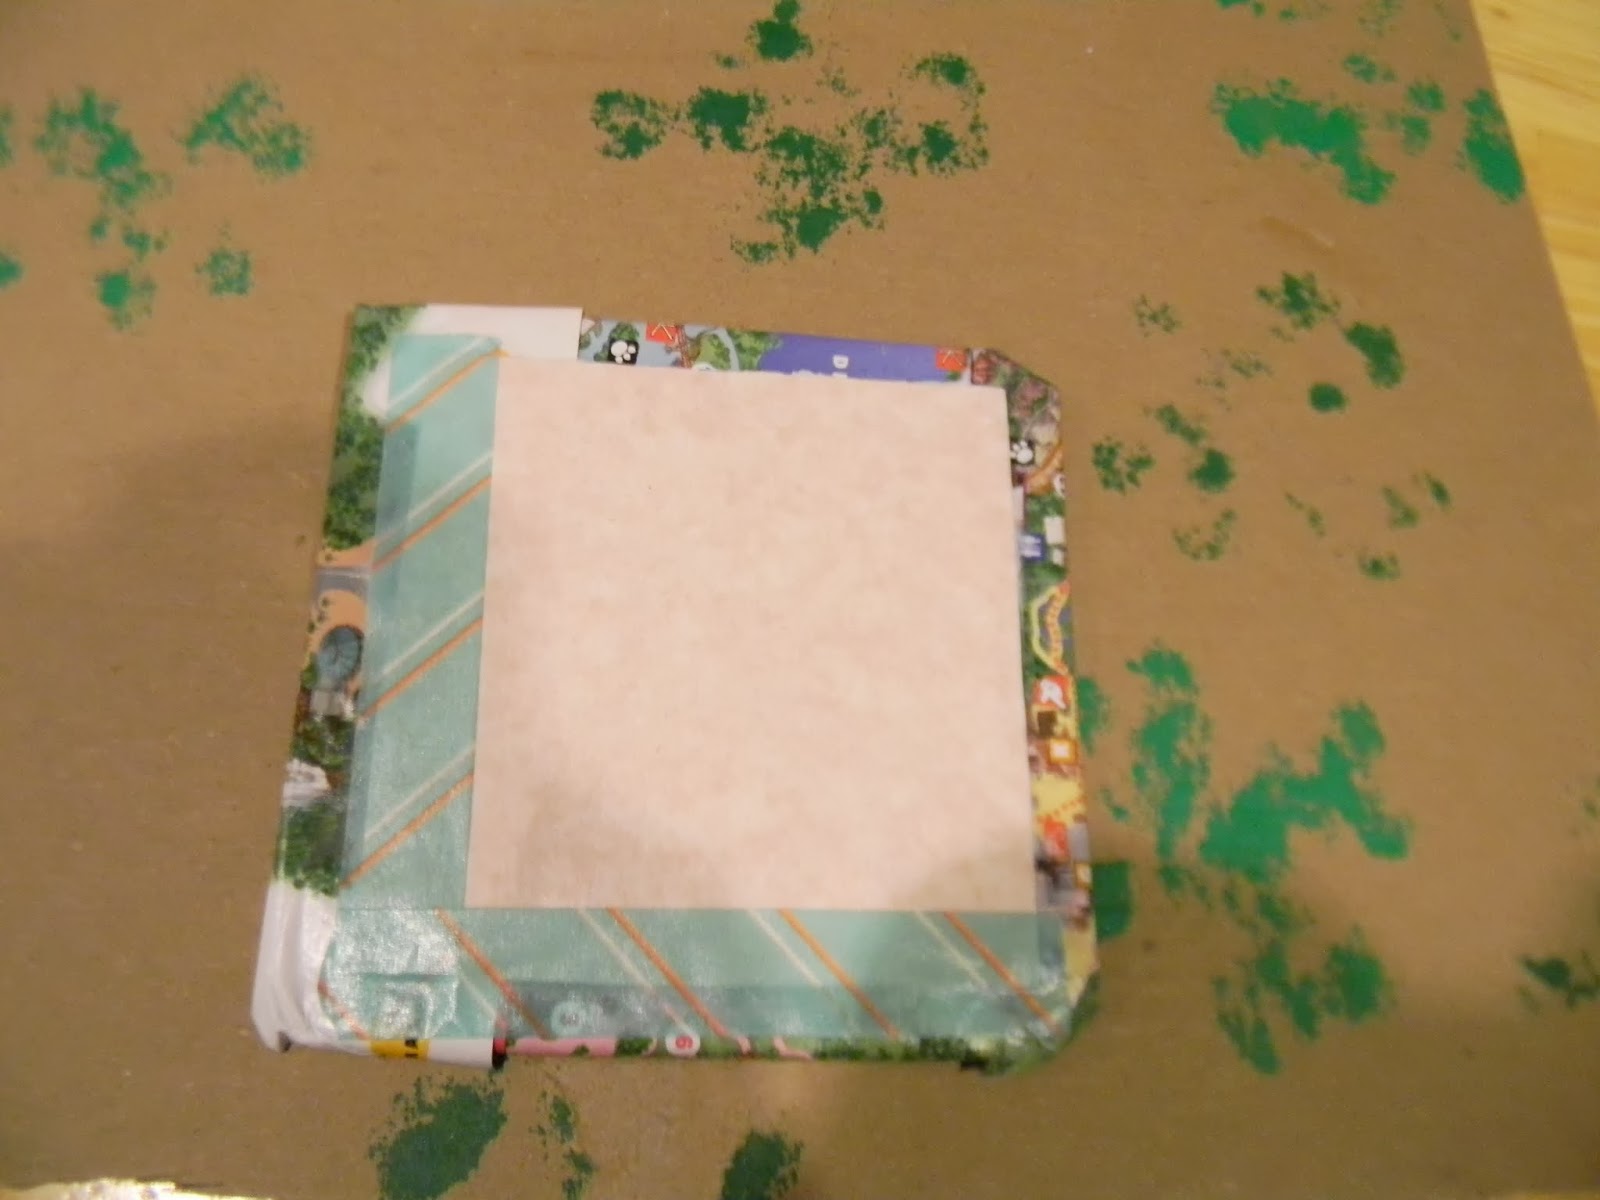
5) I cut and adhered a piece of card stock to the back to cover the remaining cork and make a neater backing

 
6) I used decorative tape and trimmed the edges of the cardstock on the back and then front


finished edge

 
here you can see how you want to fold in the corners of the tape first and then fold over the edge

 
Coaster 1: finished front and back


I now followed the same steps above to cover the other cork coaster I had. At step 4) I still cut diagonal slits in the corners of the map paper but folded the corners in better as I rounded the paper with a bit of tucking.


you can see here I created a nicer edge and corner

here is the finished coaster number 2, in which I only used the decorative tape on the back


Coaster style #2 ceramic with cork back

 
the steps are basically the same with a few exceptions
 
step 1) I trimmed a square of map paper to fit over the actual design on the coaster and still have the coater edging show


 2) adhere a thin layer of glue to the area you want to put the map on


3) I decided to add glitter to this coaster, so I added another layer of glue and sprinkled on the glitter. The glue dries clear.
 
 
for one of the ceramic coasters I also added some decorative tape to make a different border as you can see in the picture below of all the coasters:
(ok right now I have a link to the picture...ugh technology)
 
 
FINAL STEP: is to finish sealing the coasters with a waterproof sealer, my husband is going to put a thin coat of polyurethane


So there you have it Disney Map Coasters! Up NEXT in the ever fun and full of potential Upcycle your old WDW Maps OR really any type of map or even your old Algebra tests you aced in High School is:


Yes it is what it looks like: MAP SHOES!
 
thanks for reading and happy crafting, Julie