Showing posts with label memories. Show all posts

Monday, October 7, 2013

MAGIC Monday: a Halloween Memory Window

It's October and time to bring out the pumpkins, fall colors, trick or treat candy bowl and more...
I especially love looking back at Halloweens and seasons past's pictures of my children dressed up, enjoying the pumpkin patch, or taking a walk in the fallen leaves.

Here is a super cute way to showcase those memories:

A Memory Window!

My husband curb picked this great window and I get to use it again for Halloween. Even if you don't have a window pane, how about decorate a simple poster board and hang it up as you get in the Halloween Spirit of dress up and fun?

Enjoy! Julie


All you need are photos, some fall or Halloween themed card stock and tape!


Arrange your photos


And there you have it!

Wednesday, October 2, 2013

Wordless Wednesday: Post Disney Magic!

Happy October all!

Are you enjoying the tease of fall weather yet? Or the tasty favors of fall? I personally love FALL! It's my favorite season and I'm looking forward to sharing some fall things with you all this month. 

But first a wonderful picture that captures all that Disney Magic from my special Mommy and Daughter trip to Walt Disney World two weeks ago...


Thursday, September 26, 2013

vacation Photo overload: Part 2 Displaying and Showcasing

As I shared in my previous post vacation-photo-overload about some simple ways to preserve your vacation photos and memories in albums, I'd now like to share how you can display and showcase vacation memories.

From photos to souvenirs,  sand and match books, to plane tickets and more... Let's take a look at a few clever, creative and easy ways to do so.

Vacation Boxes

not a scrapper, no problem! You're bound to come home from any trip with brochures, ticket stubs, foreign money, pressed pennies, and other little flat items. Instead of tossing everything or putting in a zip-lock bag in a box in your closet, why not showcase those items.


the supplies needed for this simple project can be found at your local craft store. I bought several craft boxes, which I inked the edges with stamping ink and then used letter stamps to add the labels.

Inside I placed various items:


Mini Album Bin
 
this goes along with another idea I showcased in the previous post. The little timeline books I have showcased in a simple Dollar Store Bin in our living room:


Picture Frame Displays
 
 
An easy and nice way to showcase your vacations is through a wall of photos. Whether you do a collage or have a growing collection of photos taken from various trips to the same or different places. It has wonderful visual appeal and makes for a fun conversation starter.
 
 
"place of been"


 This collection is in my Aunt's home. She showcases a single landscape or focal point that represents trips and places her family has been and lived. She keeps the wall appealing by using matted black and white photos in similar frames.
 
 
I loved this idea so much, I created my own version:


"with Mickey"
 
 
Thinking beyond just a keepsake box or a framed photo on the wall, the possibilities are endless!
 
Jars
 
one jar, two jars...you get the idea. Here are two ideas of ways to showcase small mementos that we have done:
 
 sand and shells from a beach vacation


matchbook collection from many different restaurants


Finally here are some other unique ways to showcase and preserve your vacations memories that I found on pinterest:
 
 
Vacation rocks


Trip Shadow boxes


for more inspiration I have a travels memories board on my pinterest page:


so print some pictures, take out those souvenirs and share away! Thanks for reading, Julie


Friday, September 6, 2013

Fix-It-Friday: simple picture wall

It has been awhile since I shared a fix-it-Friday project...or maybe since I've had time for a little project

Today these blank walls needed some fixing


Quite awhile back when we rearranged some furniture around in our family room/kitchen space, my husband had planned to make some custom shelving to fit in this nook around the desk. Unfortunately life happens (flood) and the walls have just remained a blank canvas.

I bought a hanging pocket organizer for my children to drop school mail in for me to look at. It was just lonely hanging there. So I was inspired by the fact, I have plenty of blank frames and tons of art work from my own little Picasos and Reniors, why not showcase some of that!

I picked out some frames and artwork, plus a few other pieces that currently were not hung up anywhere


this is where the fix-it-Friday comes into play. How do you get all of that on those blank walls with out having six sets of hands to hold each piece up?

Masking tape is your answer!

I taped off the edges of each frame


to make an outline and then began placing these tape frames on the wall


Now I could see how each frame would fit

next was hanging each piece up. For another masking tape trick, I marked from the top of the frame to wear the nail would need to be:


placed the marked piece of tape on the wall and hammer in the nail


PERFECTION! well to a degree :-)


thanks for reading and I hope this inspires you to fix-it-Friday! Julie

Tuesday, September 3, 2013

Vacation Photo overload?

You just got back from a great Vacation at Yellowstone Park, or a weekend getaway at the beach or a week stay at Walt Disney World, what do you do with those 1000+ photos you took?

  1. leave on the camera memory card
  2. upload to your computer...for no one to see
  3. print them at Target and keep in an envelope
  4. share on Face Book

OR how about PRESERVE those Memories! You don't need to be an avid Scrapbooker or Computer Whiz to be able to preserve and showcase your photos. Here are some fun, simple and unique ways to do just that.

First, get the photos off the camera and onto your computer. I love using Google's Picasa. It a free program you can download to your computer to store, edit, print and more.

Second, look through them. I mean spend some time and pick out those favorite shots of your daughter in the pool, or your Mom riding horseback, etc...you know the shots. You don't NEED to scrap or print EVERY picture you took, that's just took much work.

Third, once you have your top selection of photo memories figured out, its time to do something with them. here are some ideas I have done.

mini "one picture" books

These are my favorite little timeline books, you can do this from annual vacation getaways to school pictures or birthdays, the possibilities are endless!

 
this is my Disney salute to NY book
Each time my husband and I go to Walt Disney World in FL, we take a picture in the same spot with the NY backdrop behind us.


Keepsake Albums
 
 
If you took a special trip, a once in a lifetime trip, like a friend of mine did to Walt Disney World you can create a custom Keepsake Album.


I created this book for her family with a large spiral chipboard album


Collage Photo Page
 
Maybe you have a lot of favorite photos, so using the collage maker through Picasa you can put them all together in one "big" picture. Add into to a piece of scrapbooking paper or card stock and then you can frame it and display or create a special album of all these great collages.


this I made for a sweet friend of mine after we had a fun filled weekend at WDW


4 x 6 Pictures with Journal cards
 
 
There are so many quick and easy products available now at your local craft store to big chains like Target. Buy a Photo quality 12 x12 album and the 6 slot 4 x 6 refill pages and you could put together a whole album in less than a day!


This is an example of just that. I like to use these pages mixed within my traditional albums. I slide in the photos and then use pre cut cardstock and stickers and add story behind the pictures. Very easy!


A digital photo book from a website, such as Shutterfly or Snapfish.
 
 
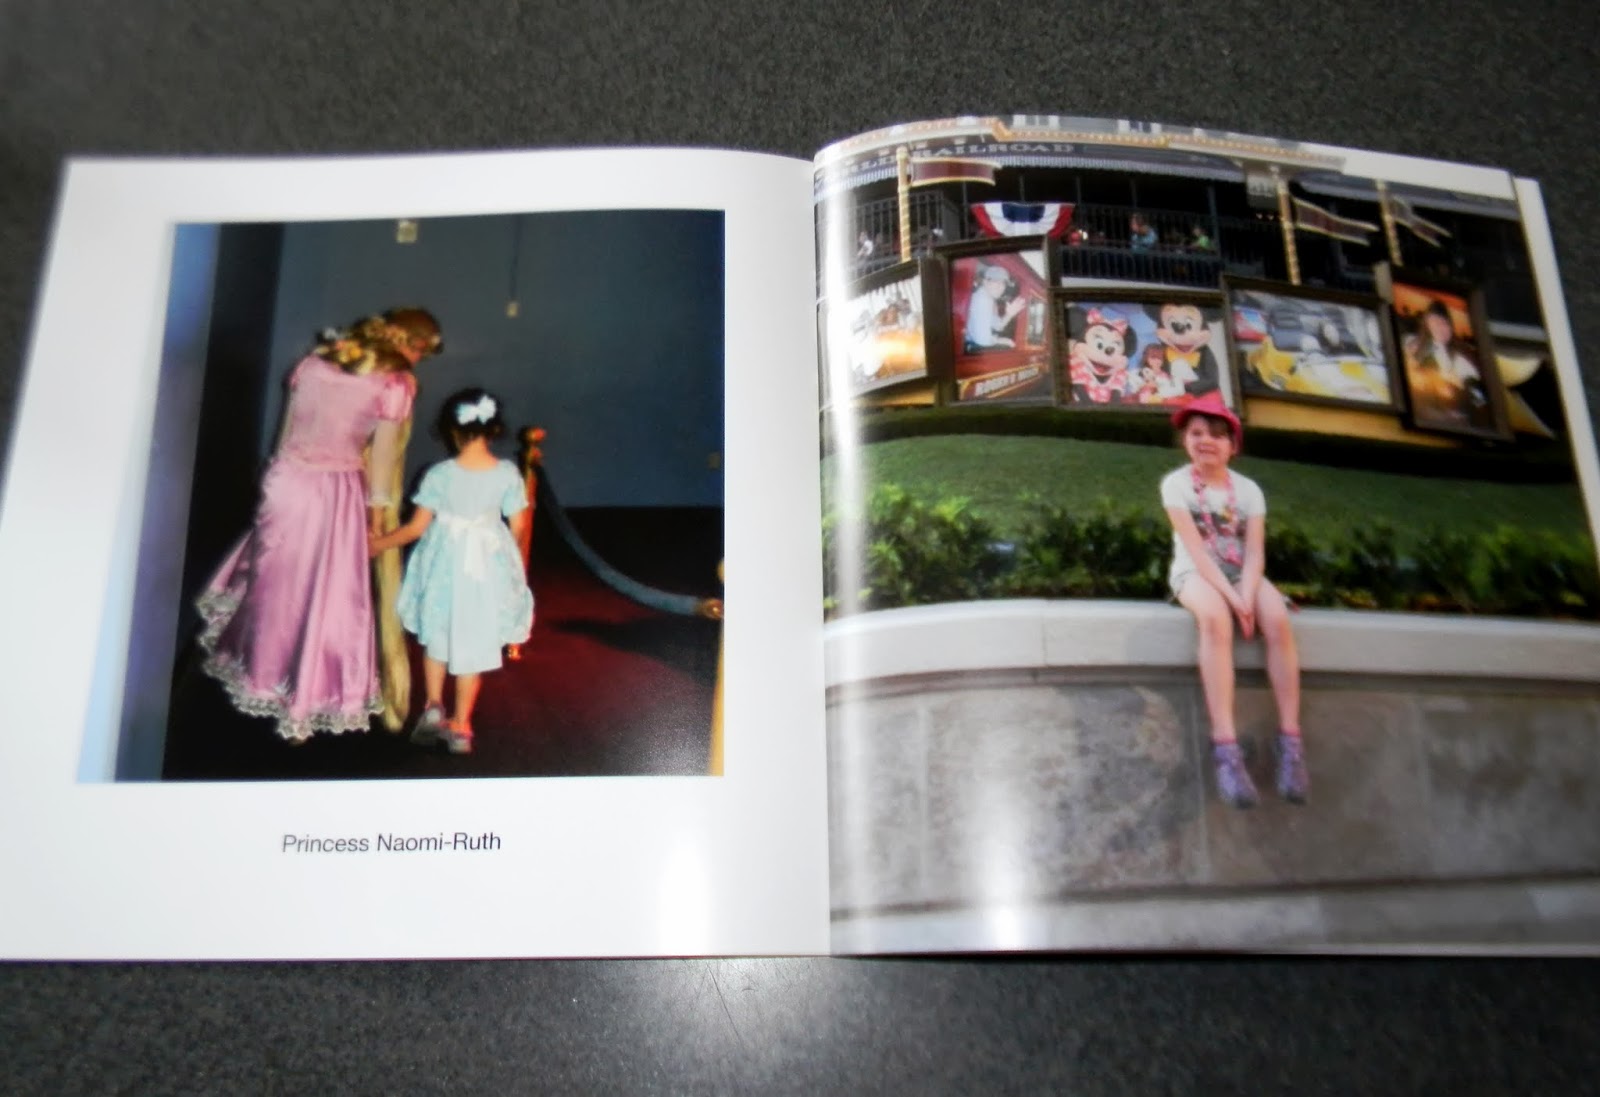
The picture of the album below is similar but was made using a digital photo maker through Disney's PhotoPass website. These type of albums are so quick and easy to do now. For the Traditional sites, you can just upload your selected photos, pick your theme and let "it" create the book for you. My Mother does this all the time.


iPhoto book
 
It seems just about everyone is snapping photos off their iphone or ipad nowadays, including on Vacations. Besides just sharing them on Face Book or Twitter why not use a great new app called Simple Prints. You select photos off your idevice, place on the page, and order, Cant get any easier!


You can even personalize the pages after you receive your book in the mail.  Add some stickers and other embellishments. PERFECT!
 
 
Another mixed media in digital scrapbooking can be done through Mixed Book.
 
Although I have not personally done these, I've heard it is quite easy and fun and you can purchase themed packs (including Disney) to make the pages even more unique. The pictures below were made by a fellow Disney Fan Erica B.


Traditional Scrapbooking
 
This is probably the most time consuming of all of these ideas, but alas my favorite. I truly love the feel of paper and adding my photos in unique patterns and layouts, then adding all the little pizazz.
 
 
a souvenir collage

 
simple use of space and design

 
play on the scene in the title "beach"

 
Postcards as journal spaces
 
In case you think I go nowhere but WDW...here are a few pages from other vacations to the Atlanta area and the beach.
 
 The top photo is an example of a souvenir collage. You know all that stuff you pick up along the way, now you slap it down on a piece of paper and add it to your photo album.
 
The second two just showcase simple to a little more flair of the use of simple embellishments, clever title letters and basic photo layouts is really all you need.
 
The last photo shows a great way to close an album. This layout is the closing page to a Myrtle Beach Family vacation we took back in 2003 with my parents and sister's family. I had each person write down their favorite memories on some purchased postcards and attached them in the book.
 
 
I truly hope some of these ideas have inspired you, to get those photos out of that envelope or upload to print and find a way that preserves your vacations memories!
 
Coming next in this series (why not, huh?) is Vacation Photos preserved as a display! stay tuned


happy memory making, preserving, and crafting! Thanks for reading, Julie


Wednesday, May 8, 2013

39 Days till Disney!

So how does one go about planning and preparing for a trip to Walt Disney World in Florida?

it shouldn't be as scary as a Hitchcock Film:

 
but actually kind of FUN...well fun for me ;-)
 
Lets take a look at some steps I take...
 
  1. Pick your Dates: my family is going in June
  2. Decide on how you will get there: we are driving
  3. Where will you stay? choices range from off site hotels, vacation rentals to on site resorts: we are staying on site at our Disney Vacation Club rental
  4. How long will you go for? we are staying 7 days
  5. Of those days, how many will you go into the theme parks? YES you can actually plan rest time at Disney, we always do! We will be going into the parks 5 out of 7 days
  6. Budget! yes this is very important...
  7. Dining...will you eat breakfast in hotel, pack snacks for in the parks, dine at any table service places? lots to think about. We utilize our full kitchen in our rental and do a combination of the above.
  8. Make an ITINERARY! Yes you need to do this...from the basic of we'll go to Magic Kingdom on Wednesday morning and Friday night, to which rides/attractions you want to try and do each time...
  9. Make a TOP 5 List...I always ask each member of my family what are the TOP 5 things you MUST do? from going on a specific ride more than, eating a certain snack, to seeing a character. There is SO MUCH to do at Disney, you can easily get overwhelmed...this breaks it down into doable chunks.
  10. Schedule that REST time! whether its in the park in a shady spot, back at your resort-taking a nap or visiting the pool. This is essential to any Disney trip...even those short ones. With our family going in June, we will arrive at the parks early, then rest/swim in the afternoon-heat of the day and then go back to the parks in the evening.
  11. Souvenir Shopping. OK there is no way around this. The gifts shops are EVERYWHERE, several rides' exit lines "dump" you into a gift shop. Set clear boundaries of when you stop to shop or look. Set clear $ budgets or how many souvenirs your children can get (don't forget yourself).
  12. FREEBIES! yes they exist! you can get Celebration buttons at any theme park, park maps-my oldest daughter collects them, at EPCOT, you can get a free souvenir cut out and get it stamped or signed at each Country in the World Showcase pavilion.
  13. Characters...you want to take time to see them. Check times guides upon arrival into the theme park to see where and when your favorites will be out. Mickey Mouse can be seen at each theme park.
  14. Fast Passes! USE THEM! don't wait in an attraction line for over 30 minutes, when you can grab a Fast Pass and come back later during a specific hour and probably only wait 15 minutes or less.
  15. Packing...this is tricky. Decide will you do laundry while on vacation? All resorts have coin operated machines. It can be time consuming or boring...you are on vacation after all. But believe me if you decide to do laundry at least once, you wont regret it.
  16. What do you need in the Parks? lightweight sweatshirt, water bottles, hand wipes, sunscreen, wear a hat, sunglasses, bring ponchos (the $1 store ones can work, but they wont last if you need to use them more than once), comfy shoes (break them in BEFORE you go), camera, something for characters to sign, and any personal items you need.
 
There are more things you can do and will need to decide, but that's the cream of the crop...in my honest opinion. Now how about some CRAFTY FUN while you countdown and get ready for this trip!
 
What are some of my

 that my family is getting ready to go?
 
 
Countdown is up and filled with fun little activities to help us get even more excited. I have Disney games, movies, crafts, and themed meals planned.
 
Dates are marked on the calendar!
 
 
Itinerary is worked out


Trip Binder is getting filled with important reminders and notes about our trip:


Some of our Disney bags have been pulled from storage 
 
 
Disney boxes are out with trip items specific to travel and to the parks...like lines goodies, autograph binder, ponchos, etc.


Disney gift card stash has begun!


New and Old Disney shirts are being pulled, awaiting packing....


Fun Etsy purchases are arriving, like these adorable homemade character inspired dresses for my daughter Naomi-Ruth:


Stay tuned for some more Crafty ways to add MAGIC to your upcoming Disney (or any vacation) this Summer!
 
thanks for reading, Julie