Wednesday, May 8, 2013

39 Days till Disney!

So how does one go about planning and preparing for a trip to Walt Disney World in Florida?

it shouldn't be as scary as a Hitchcock Film:

 
but actually kind of FUN...well fun for me ;-)
 
Lets take a look at some steps I take...
 
  1. Pick your Dates: my family is going in June
  2. Decide on how you will get there: we are driving
  3. Where will you stay? choices range from off site hotels, vacation rentals to on site resorts: we are staying on site at our Disney Vacation Club rental
  4. How long will you go for? we are staying 7 days
  5. Of those days, how many will you go into the theme parks? YES you can actually plan rest time at Disney, we always do! We will be going into the parks 5 out of 7 days
  6. Budget! yes this is very important...
  7. Dining...will you eat breakfast in hotel, pack snacks for in the parks, dine at any table service places? lots to think about. We utilize our full kitchen in our rental and do a combination of the above.
  8. Make an ITINERARY! Yes you need to do this...from the basic of we'll go to Magic Kingdom on Wednesday morning and Friday night, to which rides/attractions you want to try and do each time...
  9. Make a TOP 5 List...I always ask each member of my family what are the TOP 5 things you MUST do? from going on a specific ride more than, eating a certain snack, to seeing a character. There is SO MUCH to do at Disney, you can easily get overwhelmed...this breaks it down into doable chunks.
  10. Schedule that REST time! whether its in the park in a shady spot, back at your resort-taking a nap or visiting the pool. This is essential to any Disney trip...even those short ones. With our family going in June, we will arrive at the parks early, then rest/swim in the afternoon-heat of the day and then go back to the parks in the evening.
  11. Souvenir Shopping. OK there is no way around this. The gifts shops are EVERYWHERE, several rides' exit lines "dump" you into a gift shop. Set clear boundaries of when you stop to shop or look. Set clear $ budgets or how many souvenirs your children can get (don't forget yourself).
  12. FREEBIES! yes they exist! you can get Celebration buttons at any theme park, park maps-my oldest daughter collects them, at EPCOT, you can get a free souvenir cut out and get it stamped or signed at each Country in the World Showcase pavilion.
  13. Characters...you want to take time to see them. Check times guides upon arrival into the theme park to see where and when your favorites will be out. Mickey Mouse can be seen at each theme park.
  14. Fast Passes! USE THEM! don't wait in an attraction line for over 30 minutes, when you can grab a Fast Pass and come back later during a specific hour and probably only wait 15 minutes or less.
  15. Packing...this is tricky. Decide will you do laundry while on vacation? All resorts have coin operated machines. It can be time consuming or boring...you are on vacation after all. But believe me if you decide to do laundry at least once, you wont regret it.
  16. What do you need in the Parks? lightweight sweatshirt, water bottles, hand wipes, sunscreen, wear a hat, sunglasses, bring ponchos (the $1 store ones can work, but they wont last if you need to use them more than once), comfy shoes (break them in BEFORE you go), camera, something for characters to sign, and any personal items you need.
 
There are more things you can do and will need to decide, but that's the cream of the crop...in my honest opinion. Now how about some CRAFTY FUN while you countdown and get ready for this trip!
 
What are some of my

 that my family is getting ready to go?
 
 
Countdown is up and filled with fun little activities to help us get even more excited. I have Disney games, movies, crafts, and themed meals planned.
 
Dates are marked on the calendar!
 
 
Itinerary is worked out


Trip Binder is getting filled with important reminders and notes about our trip:


Some of our Disney bags have been pulled from storage 
 
 
Disney boxes are out with trip items specific to travel and to the parks...like lines goodies, autograph binder, ponchos, etc.


Disney gift card stash has begun!


New and Old Disney shirts are being pulled, awaiting packing....


Fun Etsy purchases are arriving, like these adorable homemade character inspired dresses for my daughter Naomi-Ruth:


Stay tuned for some more Crafty ways to add MAGIC to your upcoming Disney (or any vacation) this Summer!
 
thanks for reading, Julie


Wednesday, April 17, 2013

Wordless Wednesday: Disney MAGIC!

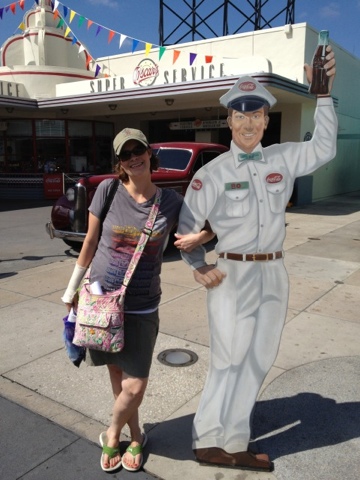
In just shy of one week, I will be making more Mickey Memories with 3 of my most favorite people to share the Mouse with....here are some pictures from two recent trips.

The pictures of my Husband and I were from our 15th Anniversary trip in October 2011. Then one year later I got together with Amy and Heidi, two of the best peeps :-)

We'll all be down at Disney together the end of next week and can't wait! This is what I love about Disney....hope you enjoy and are inspired to make some fun, goofy, romantic, and magical memories of your own:-)

Thanks, Julie


Monday, April 8, 2013

PINspiration wrap from March...


We are entering the 2nd week into April and I wanted to give props to some amazing blogs and pins that I found inspiration from during last month...

I got our Irish LUCK on with these fun decorating and celebration items:


I emptied the Epsom "snow" from my mason jars that were decorated for Christmas and Winter and added dried split peas. Plus made these Shamrock pixie sticks.

Found inspiration from these two PINS:


and this photo:


I was inspired by these candy treats:


and I made Candy "Shots"


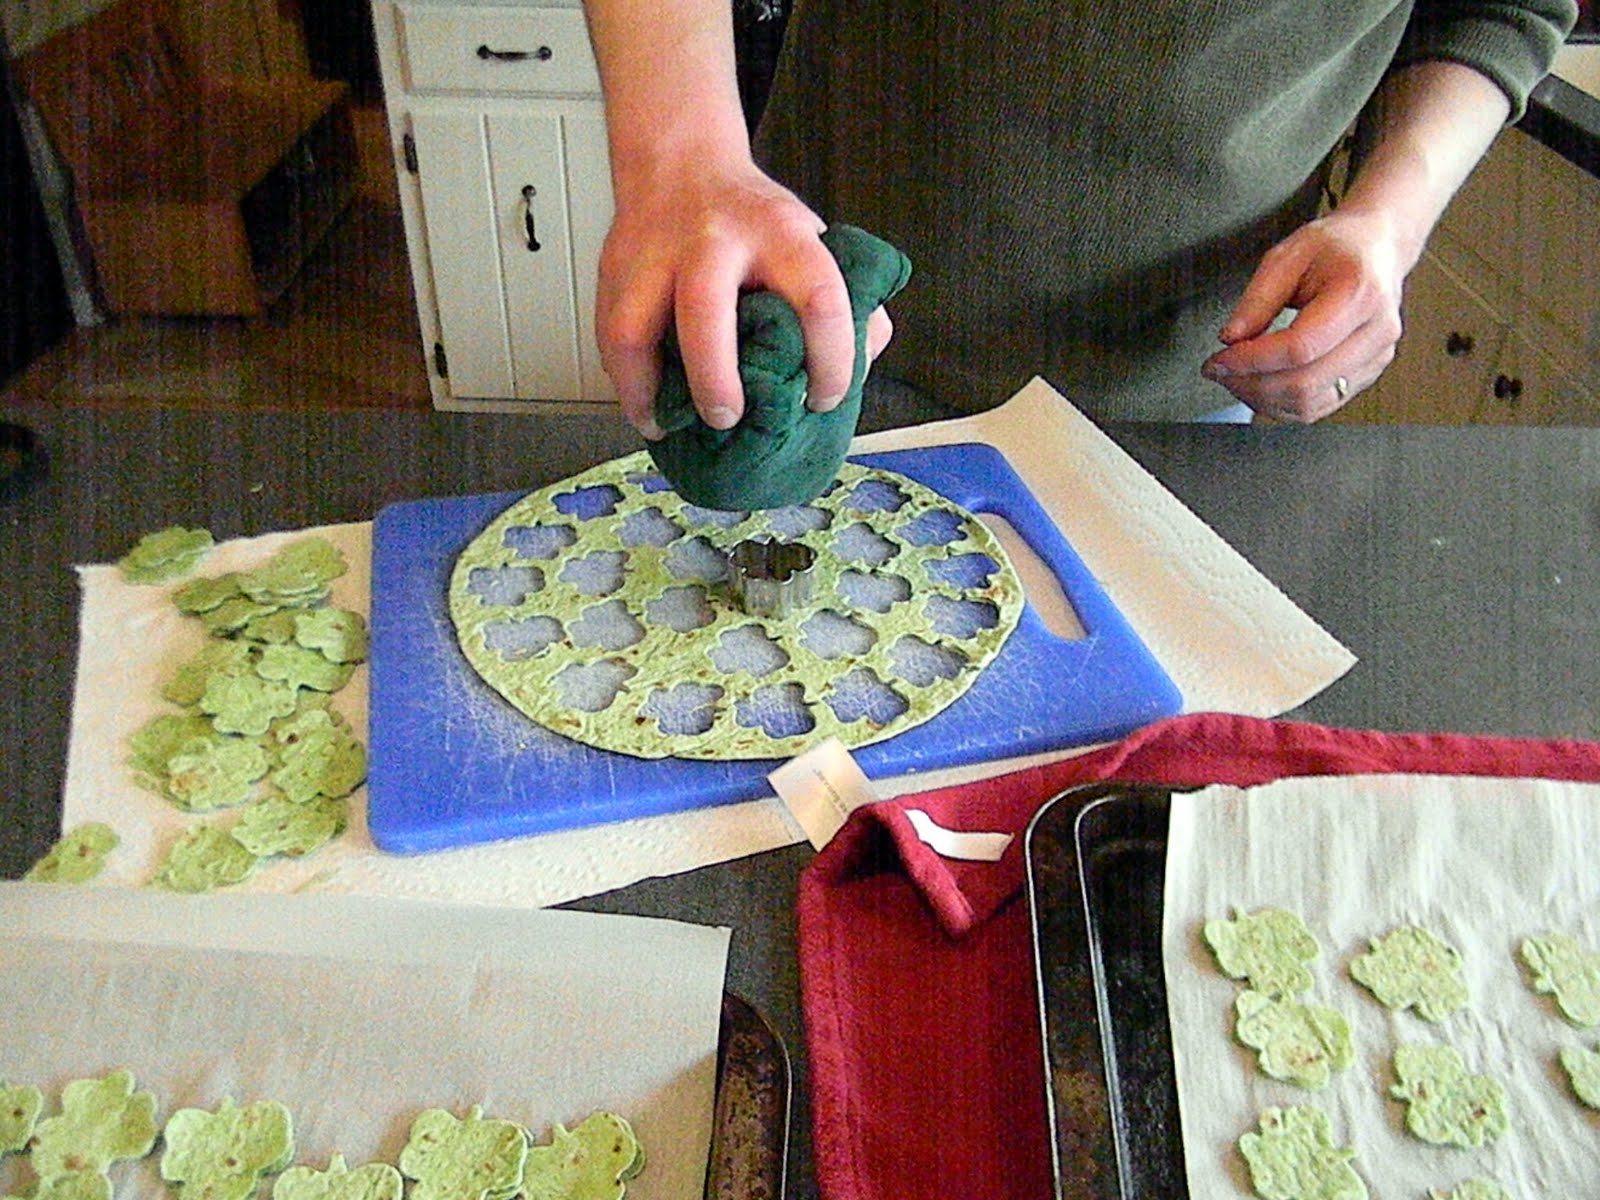
Got Matt in the act as we made these homemade Shamrock chips:


Found the inspiration and directions here: buzzfeed.com/ baked-alternatives-to-potato-chips
We received rave reviews of design but not everyone liked the taste...

On actual St. Patrick's Day before we went to church we had a Lucky breakfast:


Moving into the next Holiday for the month of March, we celebrated Easter...


I changed out the shamrock sticks and added wooden eggs to the jars, plus found these sparkly wooden Easter tags in the $ bins at Target...


 My youngest daughter Naomi-Ruth and I had fun making some paper plate crafts during our Spring Break. I found the inspiration and directions off these two PINS:


A few other Easter items:

This was the first year I hard boiled eggs in the oven, inspired by Pinterest. Overall it was a lot easier and didn't stink up the kitchen. But unsure if all the eggs cooked evenly through as some when cracked open to eat seemed undercooked. I will probably do again in oven, but rotate my pan 1/2 way through since I don't think my oven cooks evenly anyways.


we made Peeps Smores for the first time:


My youngest daughter has severe food allergies and intolerances, which can make Holiday treats difficult to match or make for her. I found this cute food serving idea on Pinterest:


I filled plastic eggs with fruit and treats she can have and brought in to Brunch with us. She was thrilled to have her very own Surprise treat eggs:-)


I also wanted to do a cute hairstyle for Naomi-Ruth and since I'm hair "dumb" and went to Pinterest and found this cute hairstyle in a picture posted and copied it:


If two Holidays in ONE Month wasn't enough....my family also celebrated the birth of my sweet new Nephew :-) AND my Mother's Birthday. We had PINspired desserts at my house:


The hardest part was scooping the oranges out of the rinds. I just used a spoon. Be careful of small holes in your rind bowls, cause the jello will leak right out. We had to trim some peel off the slices after the jello set, since there is no way you can get a completely even jello line at the top of the bowl. The orange jello didn't seem to set right, I think that was a generic brand...so go with Jello brand for these. They were a HUGE hit, especially with my 2 yr old niece.


Happy Birthday Mom!


I also made Chocolate dump cake for the first time: my catholic kitchen crockpot-chocolate-dump-cake

I used a crock pot liner, which made clean up a breeze!the cake turned out quite well. I served it in plastic cups topped with ice cream...so EASY!

Well there you have it! Happy pinning, crafting, cooking and creating!

thanks for reading, Julie


Wednesday, April 3, 2013

"Wordless" Wednesday: Autism Awareness

For today the first Wednesday in April, I wanted to share some photos of my children as they have grown over the past 4 years as we have been "Lighting it up BLUE" in support of AUTISM AWARENESS and ACCEPTANCE.

All 4 of my children posses various behaviors of Autism, from social delays, speech issues, sensory, perceptive issues as well as lack of executive functioning and more. 3 of my children have been diagnosed on the Spectrum while one my youngest is not she has severe food intolerances and allergies.

Being a parent of 4 special needs children is no easy task, nor is just being a parent at all. For my husband and I we tackle battles that may seem trivial or unacceptable to those looking in from the outside.

We don't always manage the best and often have a hard time dividing ourselves to help, support, and advocate daily for our children. But we DO because of the Grace of GOD, and from an amazing support group of family and friends....

So when you read and look at my pictures, are a parent or not...I don't post for pity or am saying: look at me and what I do....but for awareness...check out these amazing kids and know there are SO many others like them. The next time you see a child melting down in the store, or a child making odd noises and spinning in circles, or a child who likes to sniff your clothes, or a child who doesn't want to be touched, or a child who is extremely smart but is very unorganized....don't ignore or frown upon them or their parents, but just send a look of Acceptance, and " it's OK!"

Thanks, Julie


Friday, March 29, 2013

MAGIC Mon-Friday: a special trip countdown

Blessed Good Friday to all! I hope you have a Spring like and restful weekend :-)

Spring looks like its finally sprung up around our home...at least on the inside as we prepare for Easter this weekend:


I hinted awhile back on my FaceBook page with this photo:


That I was up to some MAGIC Monday fun, it took me a few different spurts of time to complete but it is done and I'm happy to share my NEW Disney Countdown for an upcoming trip in April!

I found some inspiration on Pinterest (but of course) from these two great crafter blogs:

disneydreamin4familyfun.blogspot disney-vacation-countdowns.html

this ladies' blog has lots of great ideas from big to little countdowns. I was inspired by her Mickey head cutouts w/ shorts :-)

and

mncrafts.blogspot disney-vacation-countdown

I liked the idea of attaching the countdown Mickey heads onto string from this blog post :-)


I got to work and per usual my attempt is to use what I already have in the house!

I got started by cutting out the Mickey Heads seen above. I used my cricut and the Mickey Font cartridge.


I cut out 30 heads using size 4, I was able to cut 4 heads out of a single sheet of 12x12 black cardstock. I saved the silhouettes for my daughter to craft with.


Next I made a list of 30 simple "activities" for the countdown and printed out on regular paper which I cut into squares. The "activities" range from just a fun Disney quote, watching a movie, to packing. This countdown is just for my Husband and I. So the goal was just cute, simple and fun!


The next step was to cut out the Mickey shorts. I used red cardstock and the cricut again. This time I used the George/Shapes cartridge and made 15 circles in size 3. I was able to squeeze 5 circles on a 1/2 sheet of 12x12 cardstock. A few of my circles cut some edges trimmed off by another circle...but my goal in crafting is FUN not perfection :-)


Next was Assembly time: I cut the circles in half and used adhesive on the curved edge and attached to the Mickey Head. Then folded the activity square and tucked it inside. Then searched through my button stash for white and/or yellow buttons which I added with glue dots.


I had the 30 heads all lined up on my long work space...


Now I needed to put it all together into a workable countdown! I used a thin piece of 12x12 cardboard and attached a colorful piece of 12x12 cardstock to it.


I inked the edges in black for a nice effect.


Used my cricut to cut out a title "Days 2 Disney"

(had a small mishap with the Disney "y: so it looks funky up close but oh well....)


A search through my ribbon collection and I figured out a rough length of string and made 3 rows. Attached the string on the back with tape and added a string to the top as a hanging point. This string needs to be re-enforced with stronger tape since hanging it up though. 


I flipped over all the Mickey heads and tapped them to the strings.


And Viola! it is complete! I totally love how it turned out. My husband and i made one change to it after hanging we flipped the numbers around so you counting from the bottom up. Oh and realized one Mickey is missing his buttons...whoops, hope his shorts don't fall off ;-)

there you have it! Enjoy and thanks for reading, Julie